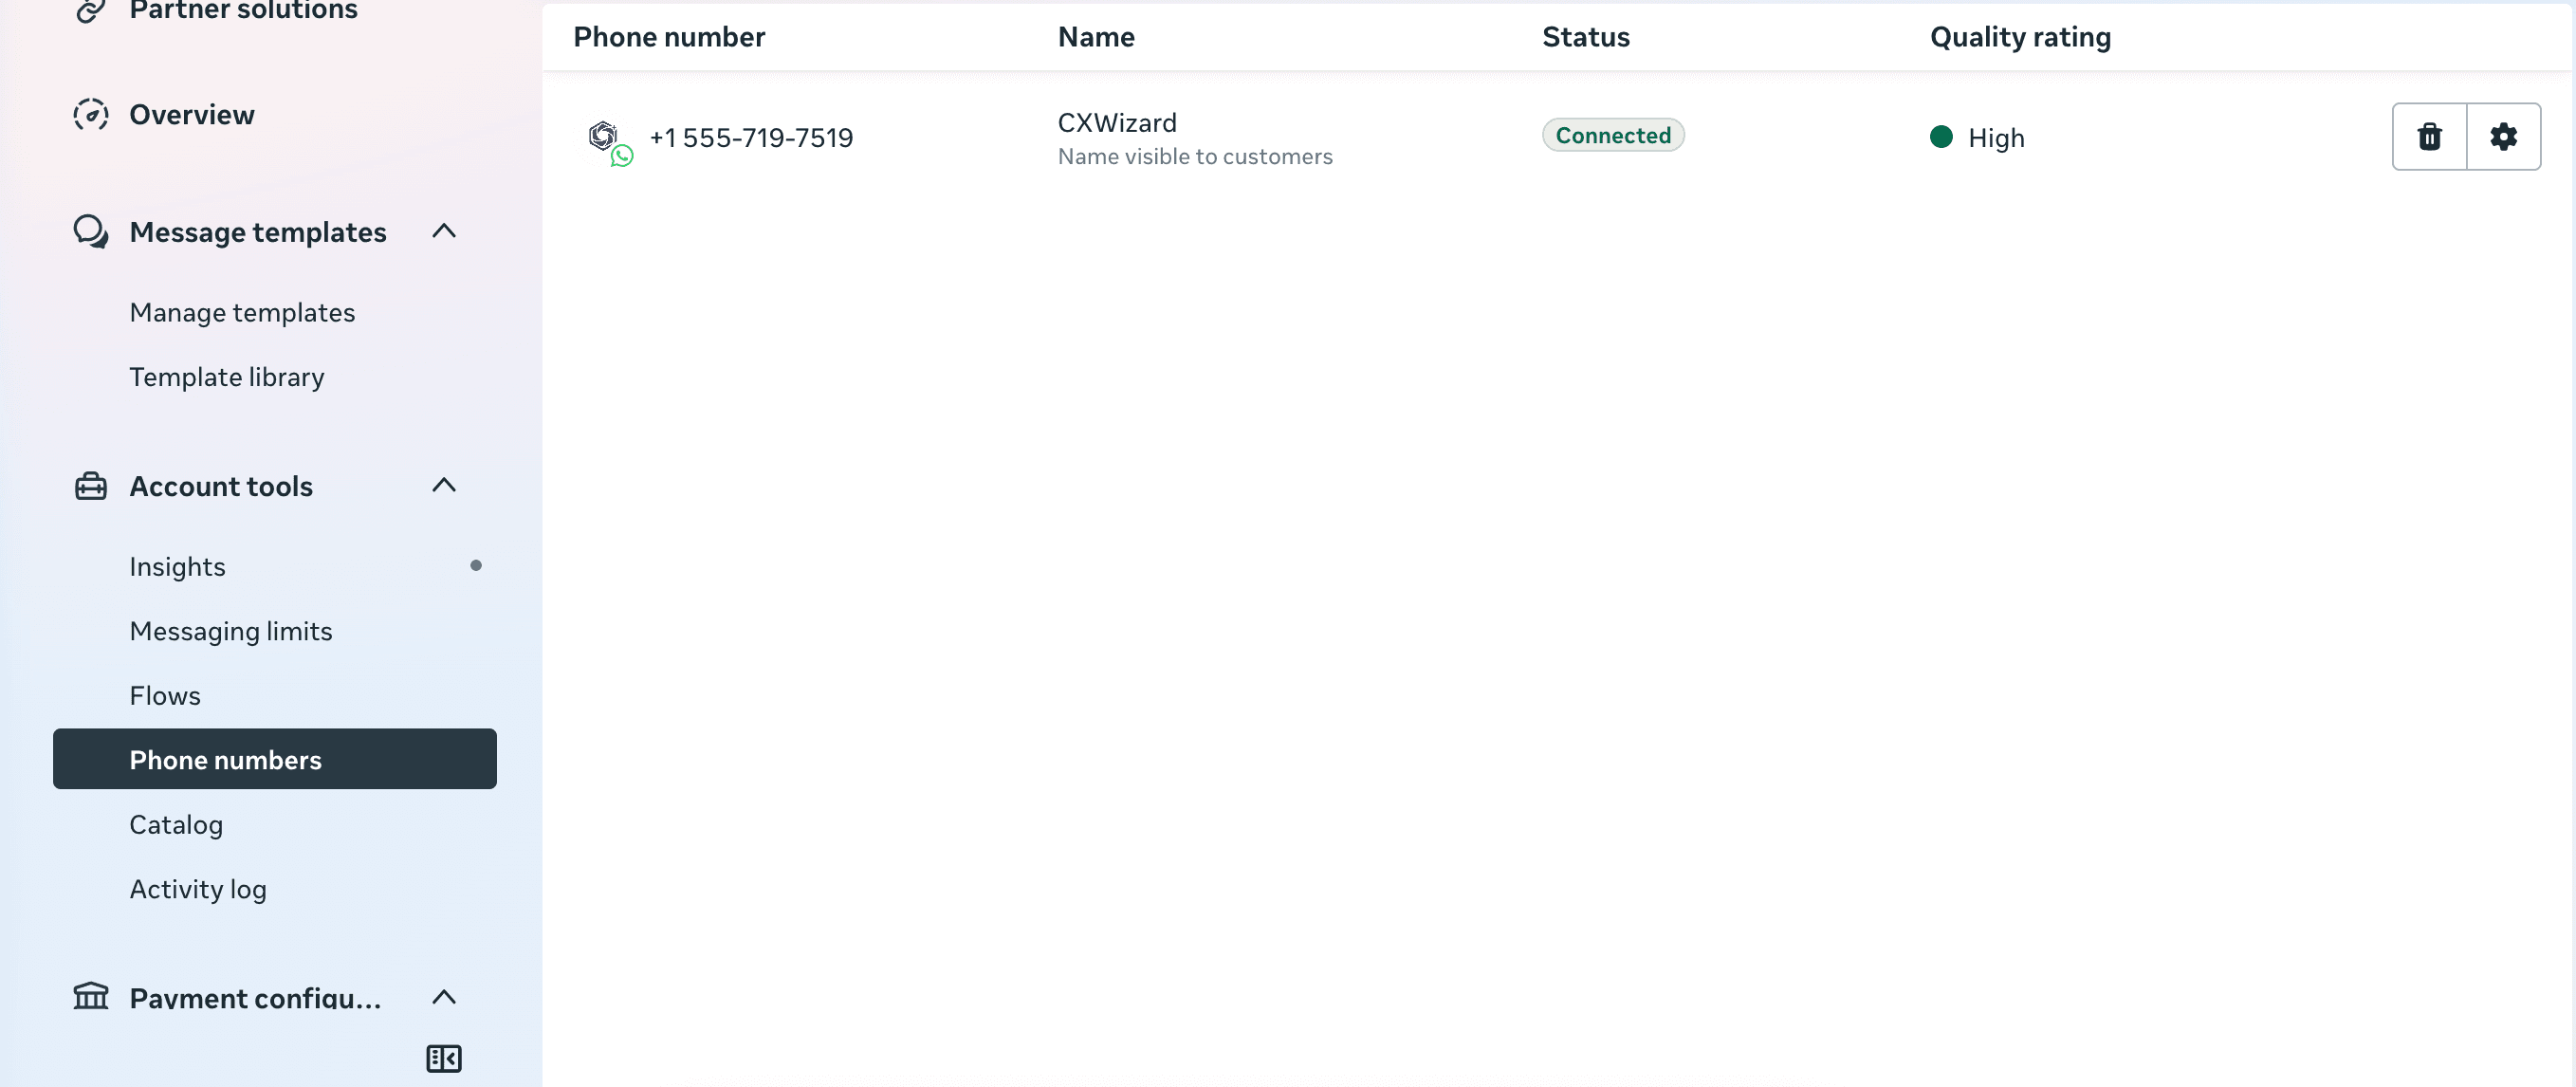
How to Connect Your WhatsApp Business Account to CXWizard
Step-by-step guide to connect a WhatsApp Business account to CXWizard using Meta’s Business Platform. Create or select an existing Business Portfolio, verify your phone number, and enable your AI agent.
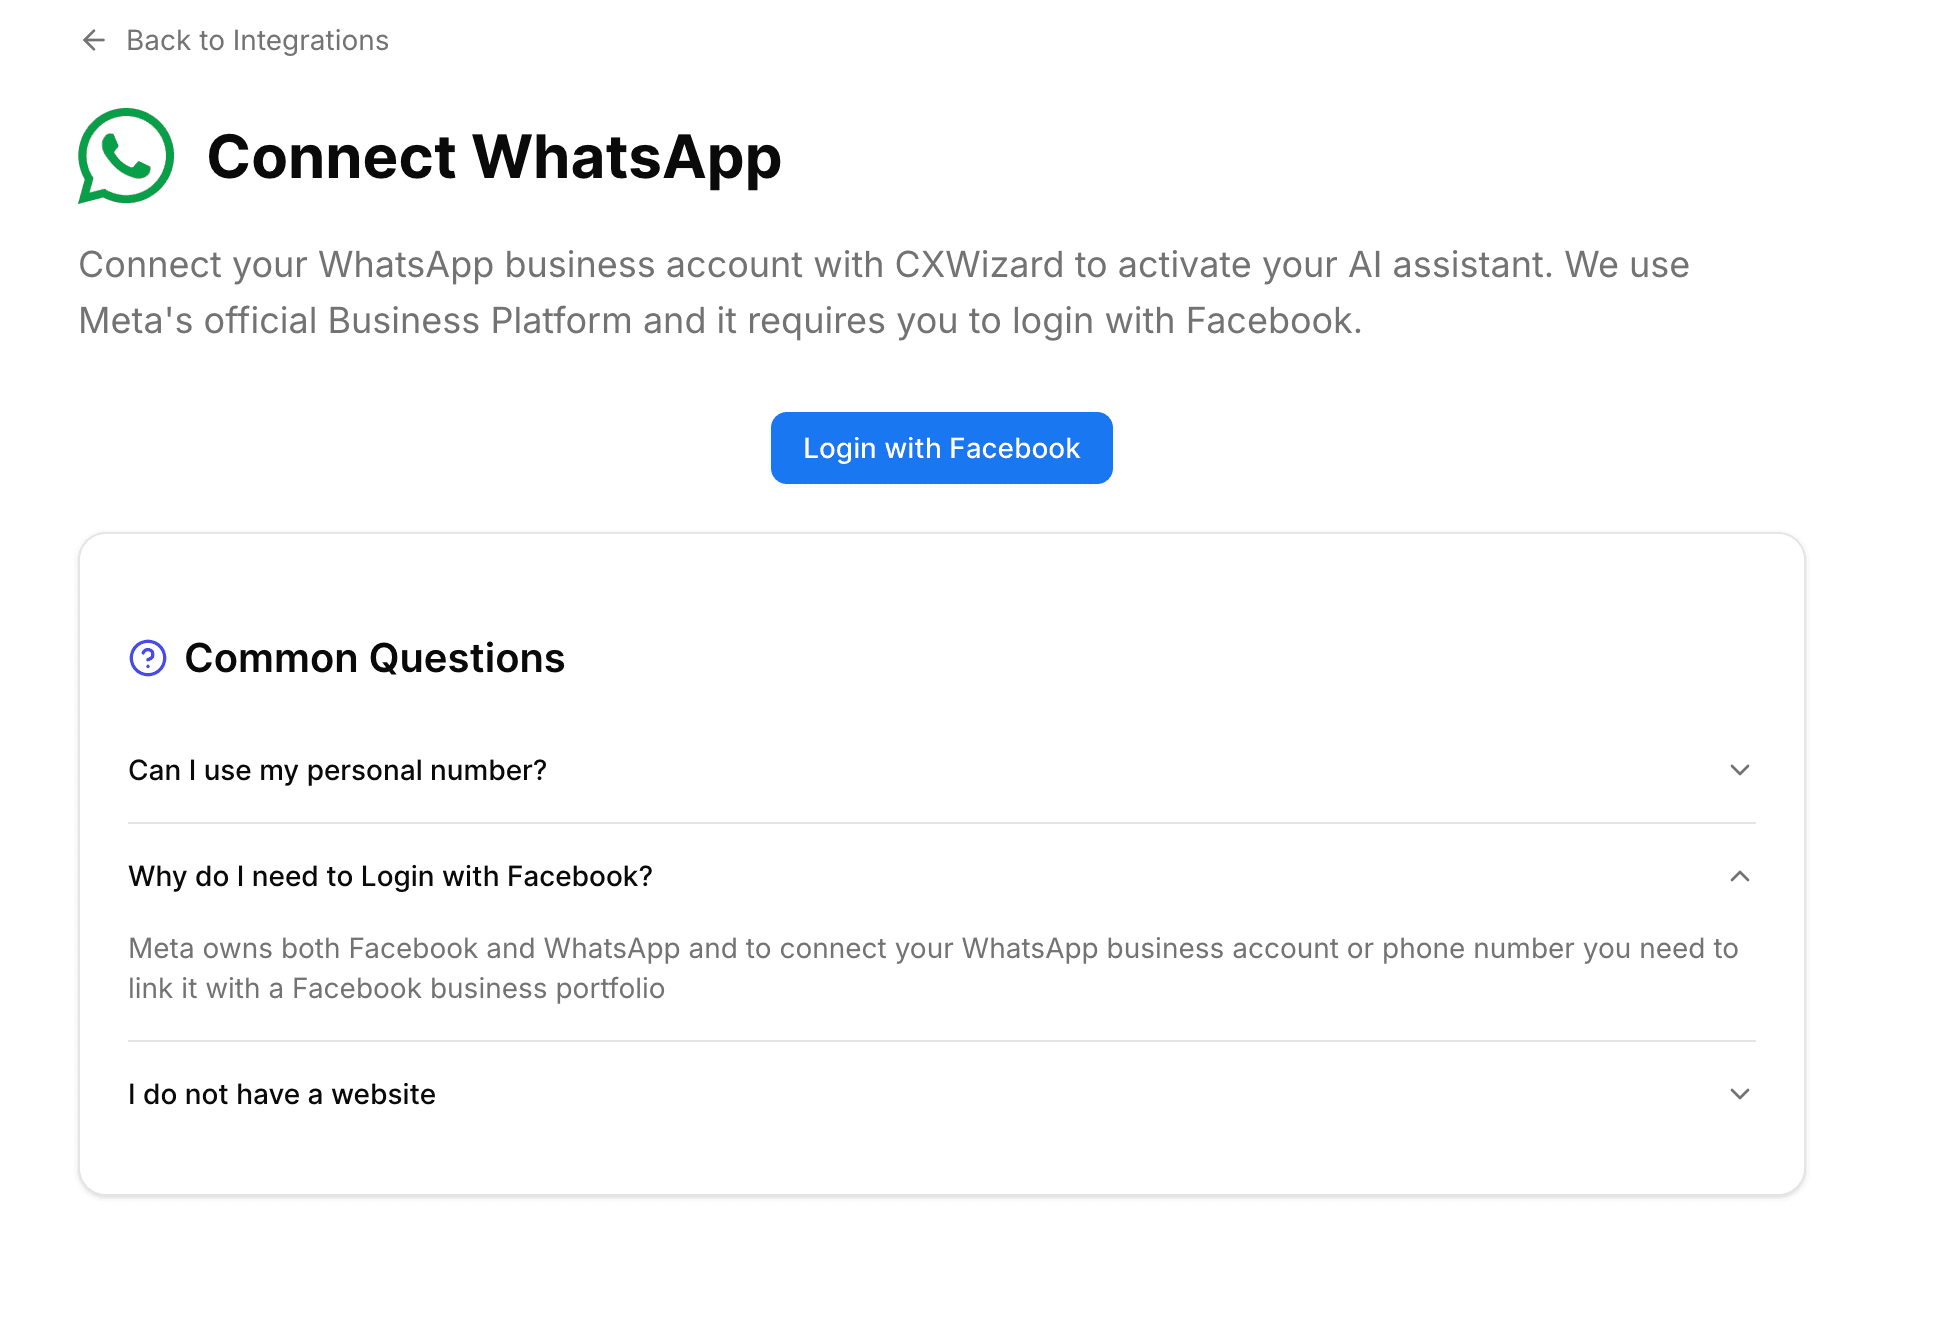
CXWizard uses Meta’s official Business Platform to connect WhatsApp. The setup requires you to sign in with Facebook and create or select a Business Portfolio that will be linked to the new or existing WhatsApp Business account you are connecting.
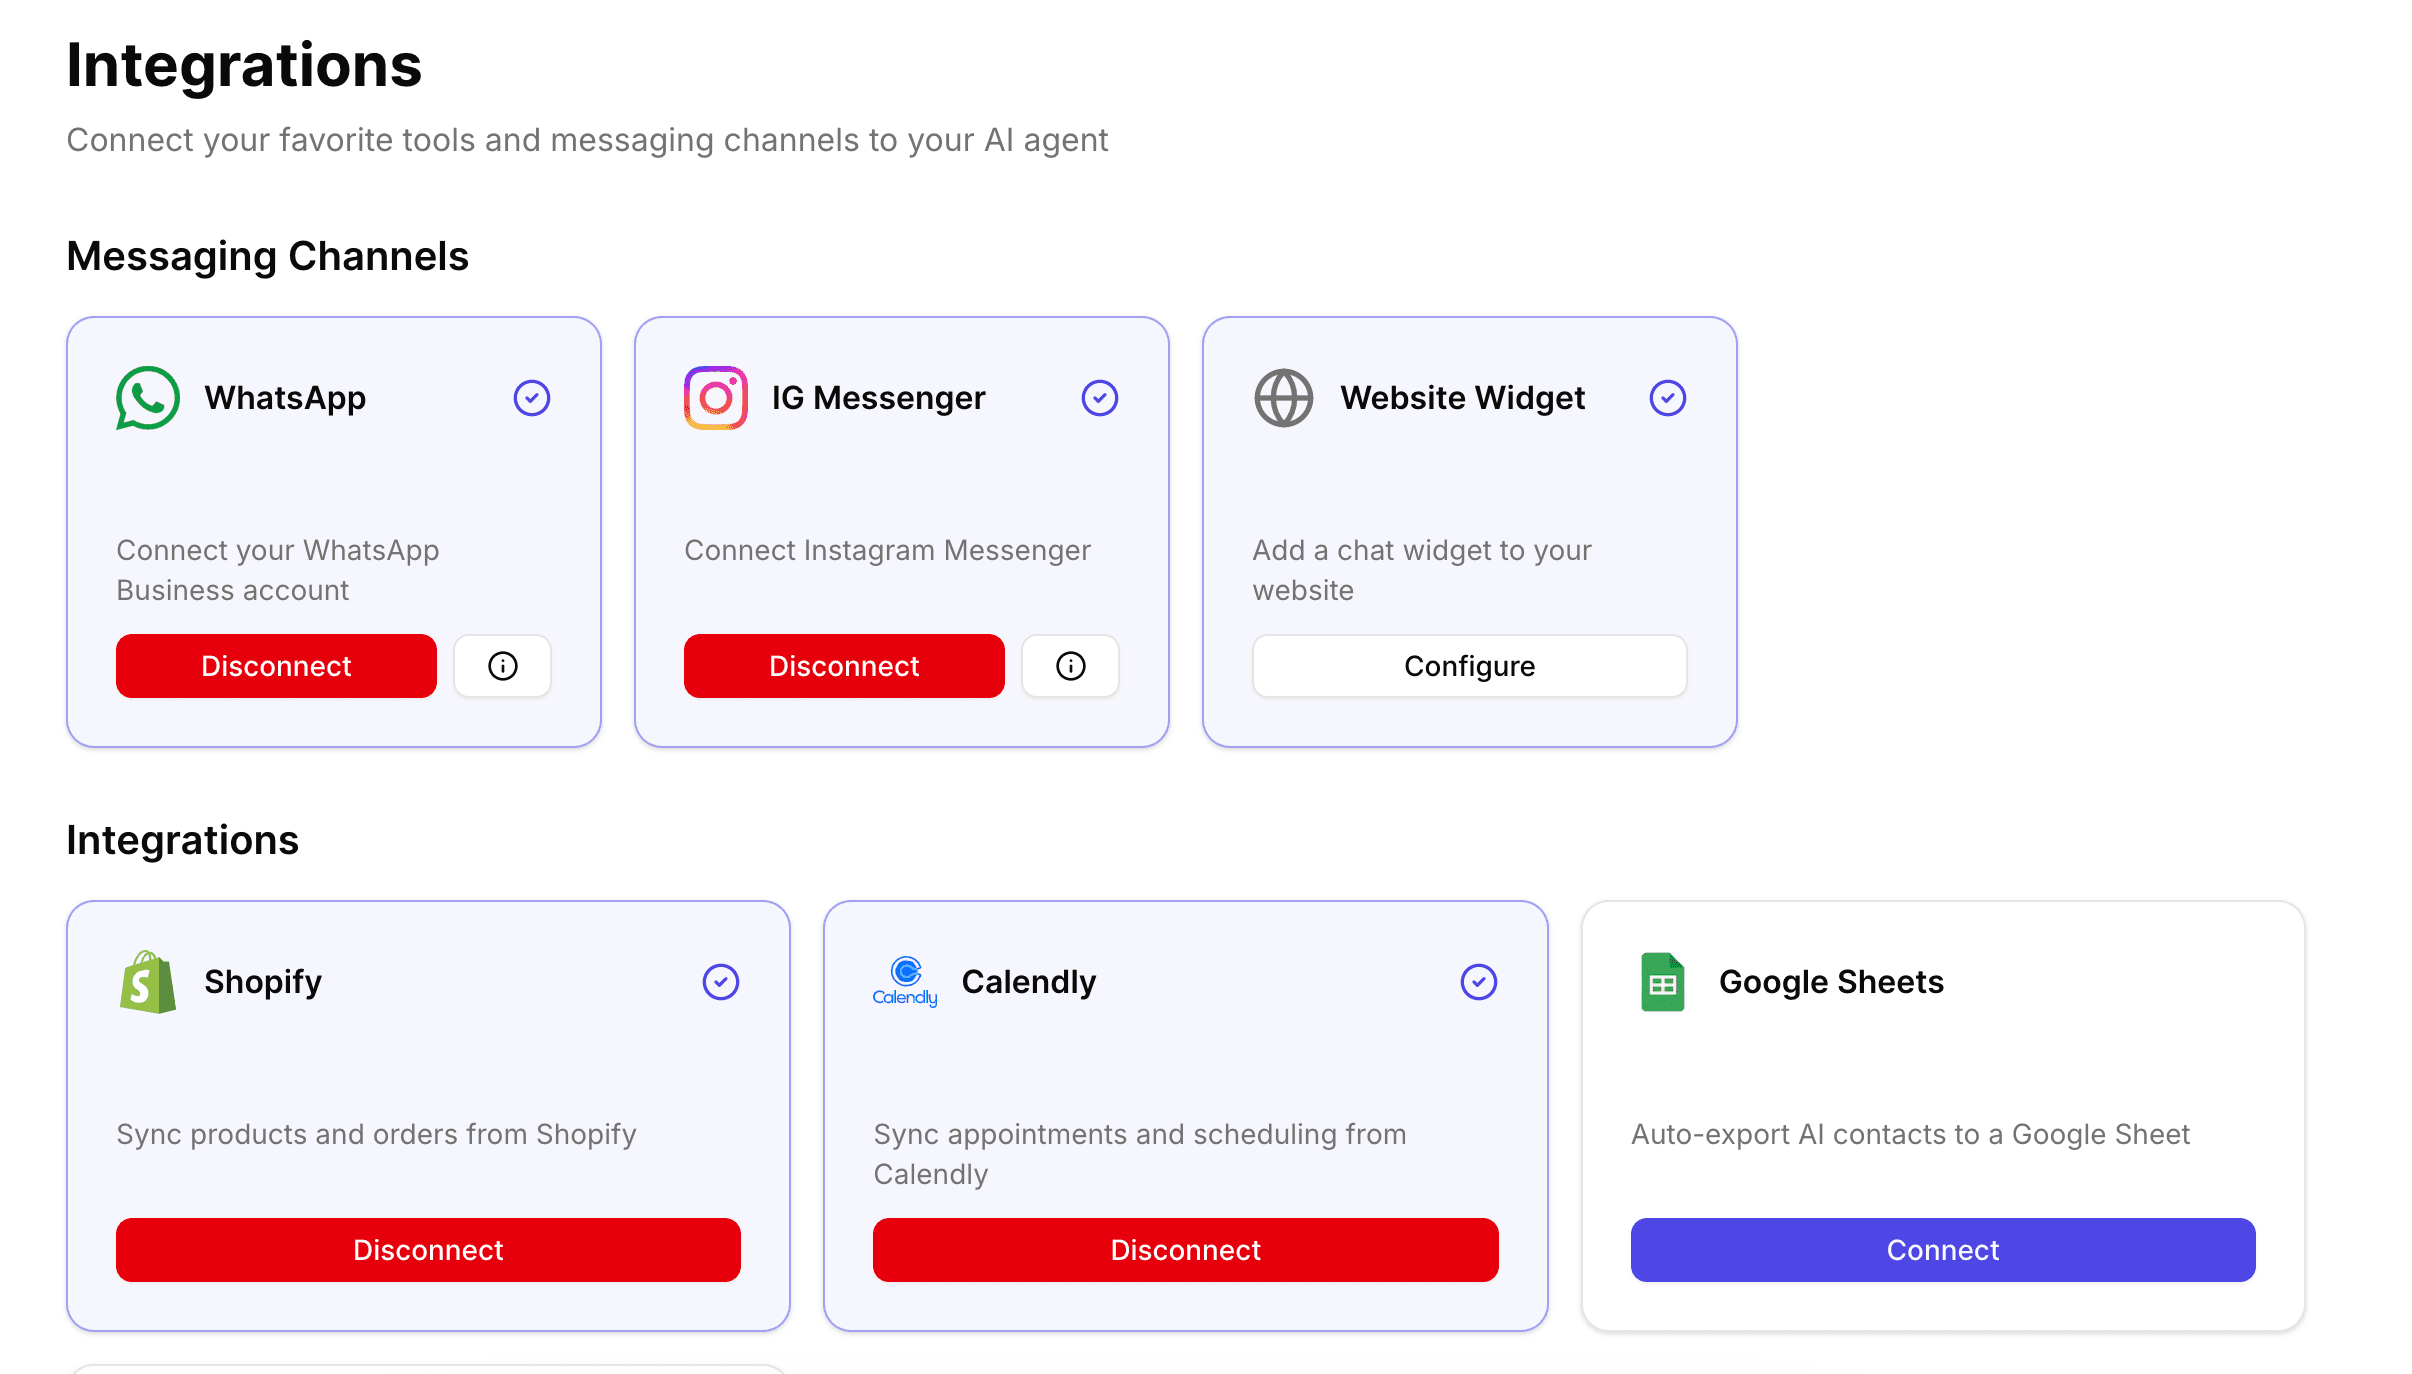
Visit the WhatsApp Integration screen to start connecting your WhatsApp account.
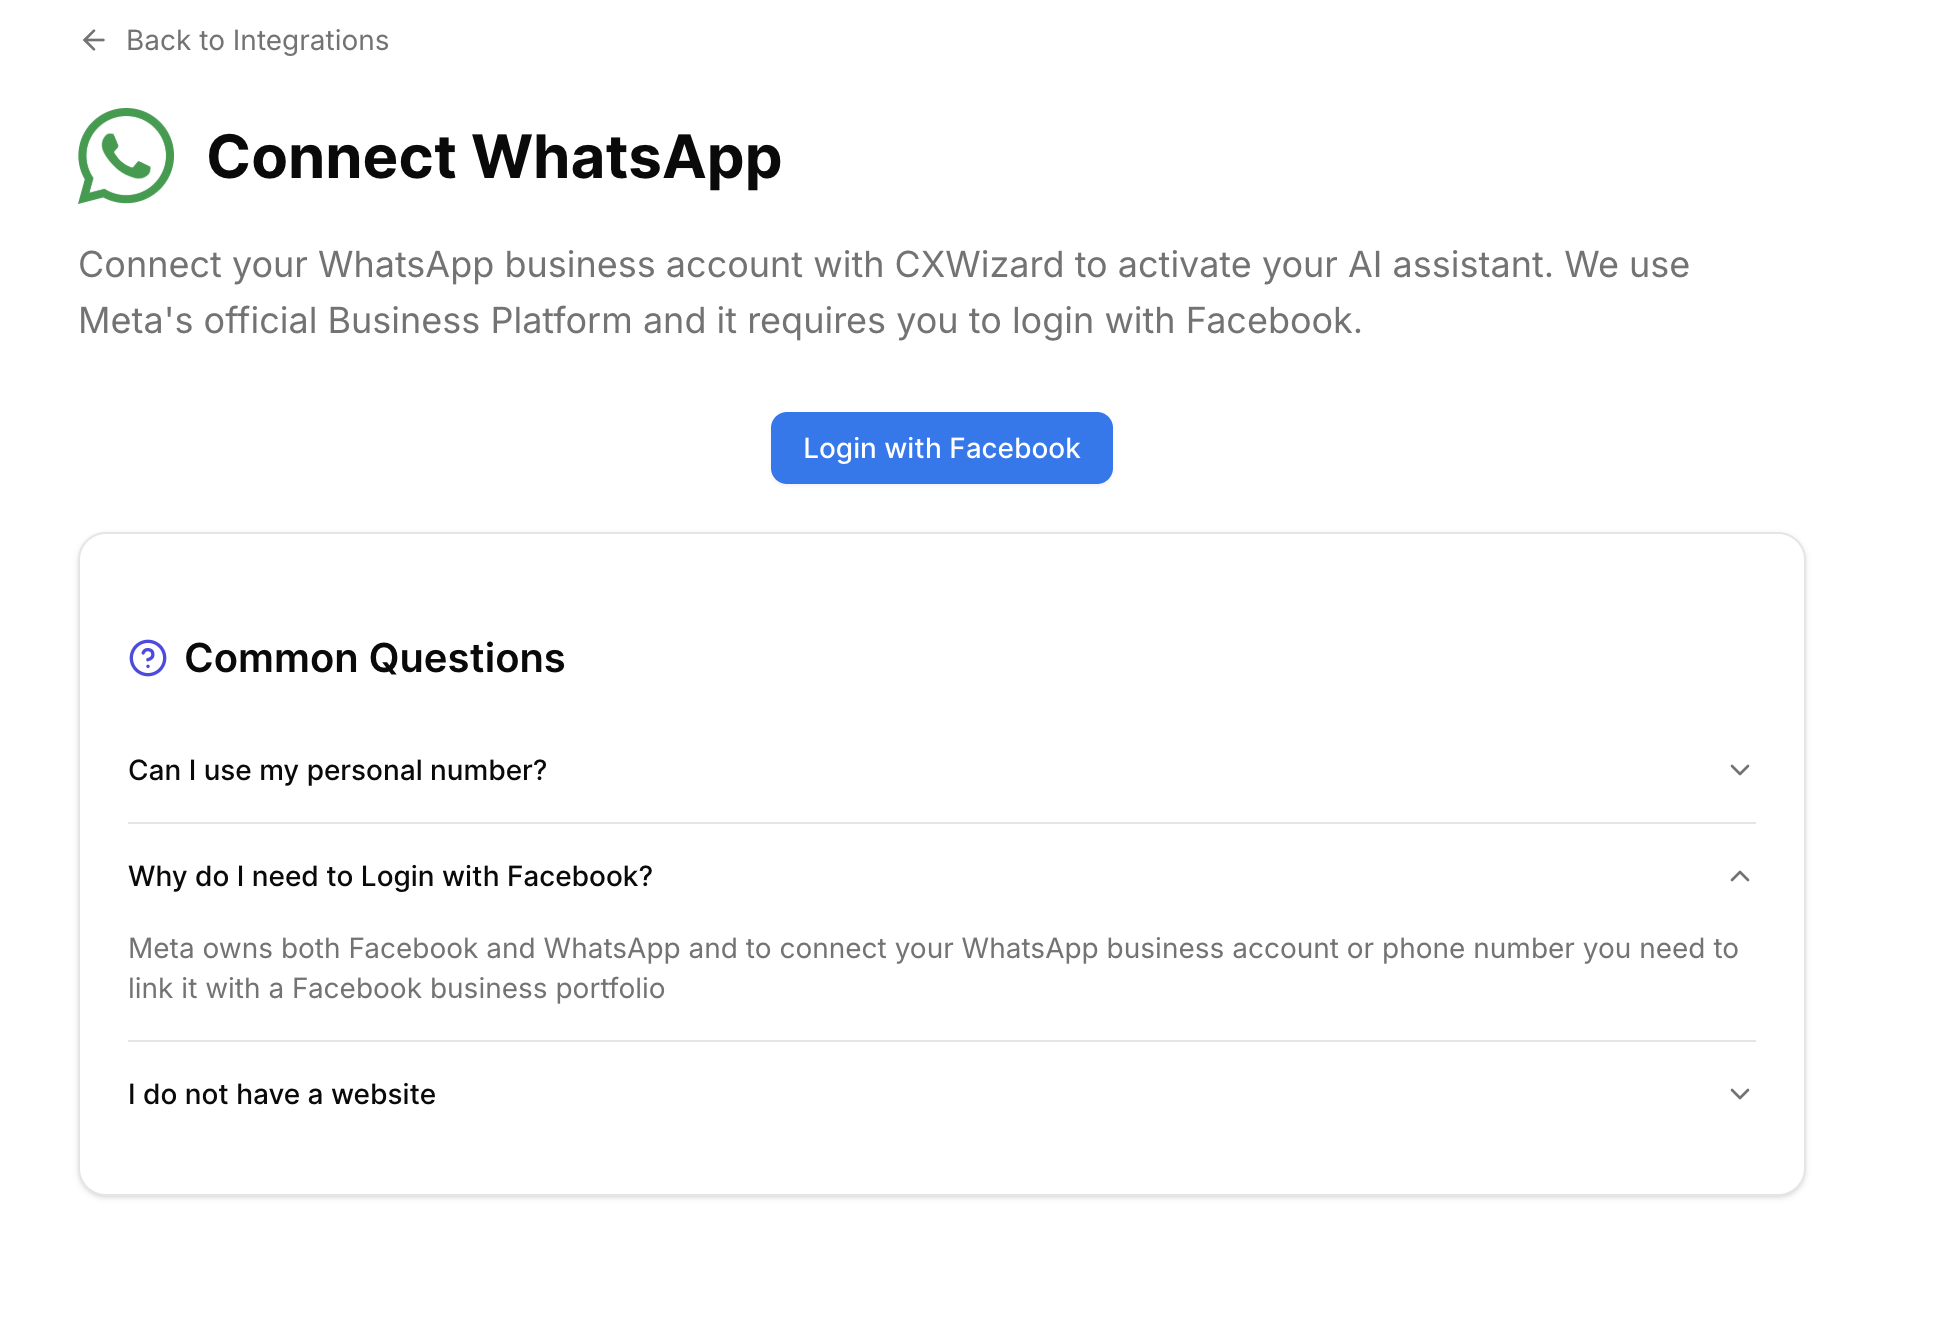
Step 1: Sign in with Facebook and select a Business Portfolio
First, sign in to your business’s Facebook account, or create one if you do not already have one.
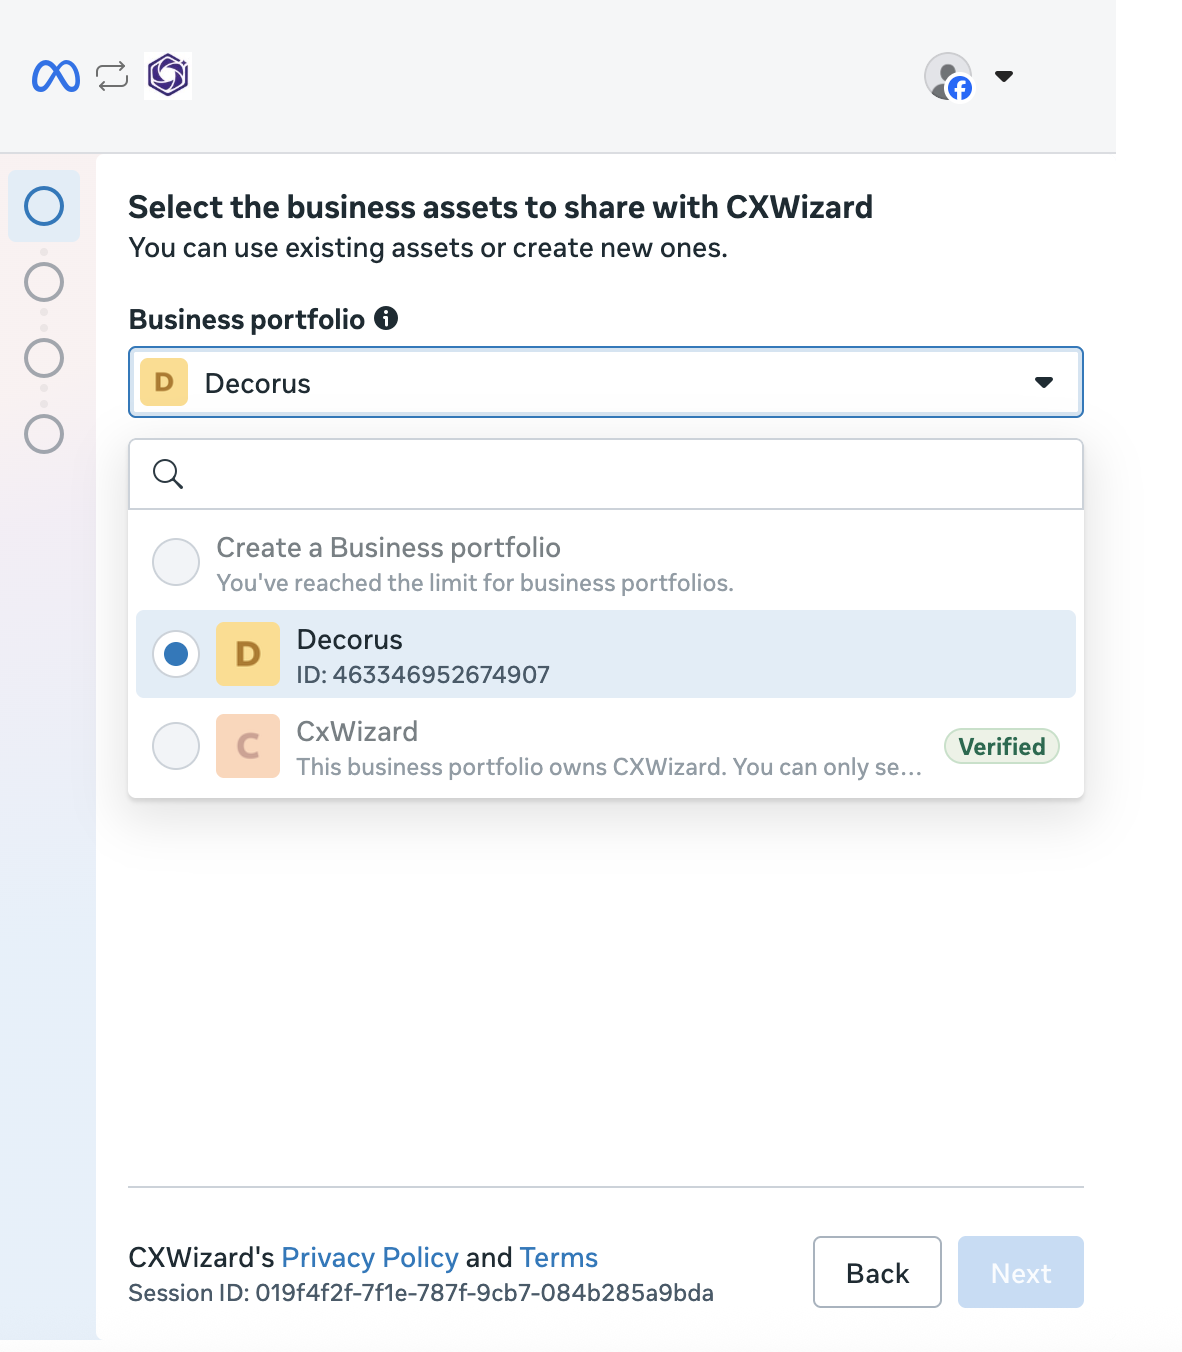
Next, select an existing Business Portfolio or create a new one. A Business Portfolio helps you manage ad accounts, Instagram and Facebook Pages, WhatsApp Business accounts, and other Meta business assets.
Click the Business Portfolio dropdown. You will see options to select an existing portfolio or create a new one.
Step 2: Choose how to connect your WhatsApp Business account
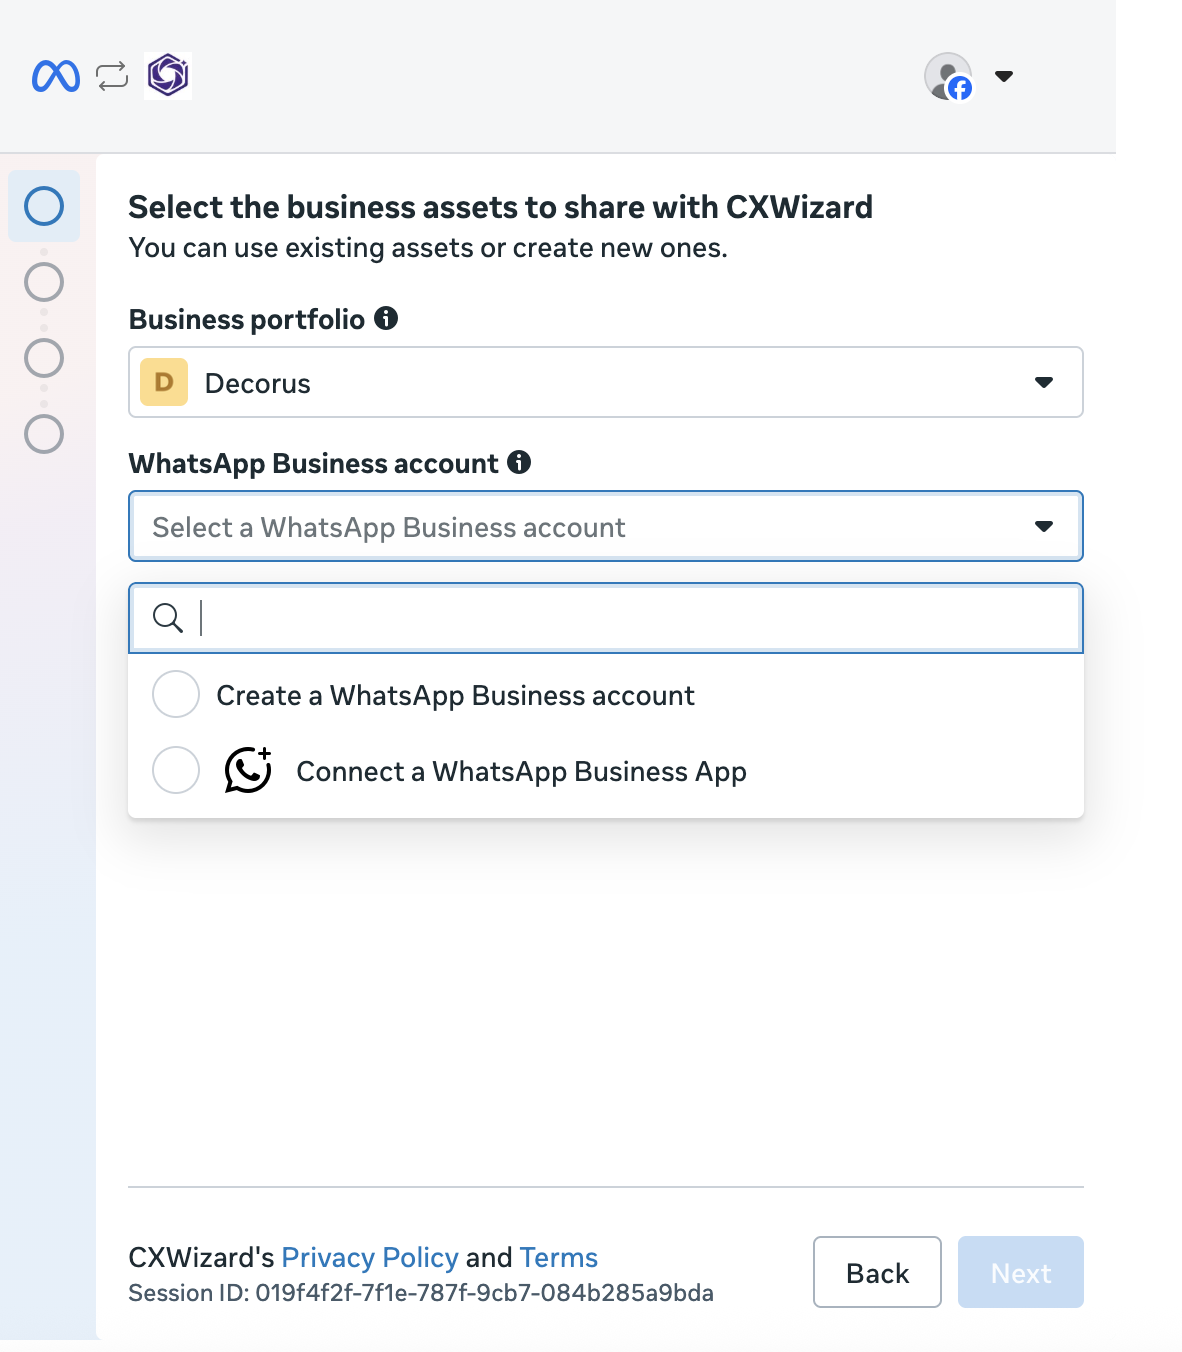
After selecting a Business Portfolio, Meta will ask how you want to connect your WhatsApp Business account. You will see two options:
- Connect a WhatsApp Business app — links an existing number from the WhatsApp Business mobile app
- Create a WhatsApp Business account — registers a number through the WhatsApp Cloud API
Choose the Connect a WhatsApp Business app option if you already have the WhatsApp Business mobile app installed and your business phone number is active on it. After connecting, you can still respond from CXWizard’s inbox, run AI-assisted replies, and send marketing campaigns while continuing to use the mobile app when you need it.
However, for mid-market and growing businesses, the API option is generally the better long-term choice. The Cloud API is designed for higher message volume and does not depend on a single phone staying online, which makes it easier for multiple teammates to respond from CXWizard’s shared inbox without fighting over one device. It also scales more cleanly as you add AI automation, marketing campaigns, and team members workflows that become harder to manage when everything runs through the WhatsApp Business mobile app alone.
If you already have a WhatsApp Business account on the WhatsApp Business Mobile app, you will have to delete that account in the mobile app and then go through the steps in Option B below to create a new WhatsApp business account with the API.
Option A: Connect via the WhatsApp Business mobile app
Choose Connect a WhatsApp Business app if your business phone number is already set up in the WhatsApp Business mobile app.
- Enter your phone number
- Complete the verification steps, which include scanning a QR code using the WhatsApp Business mobile app on your device
Option B: Create a WhatsApp Business account via the API
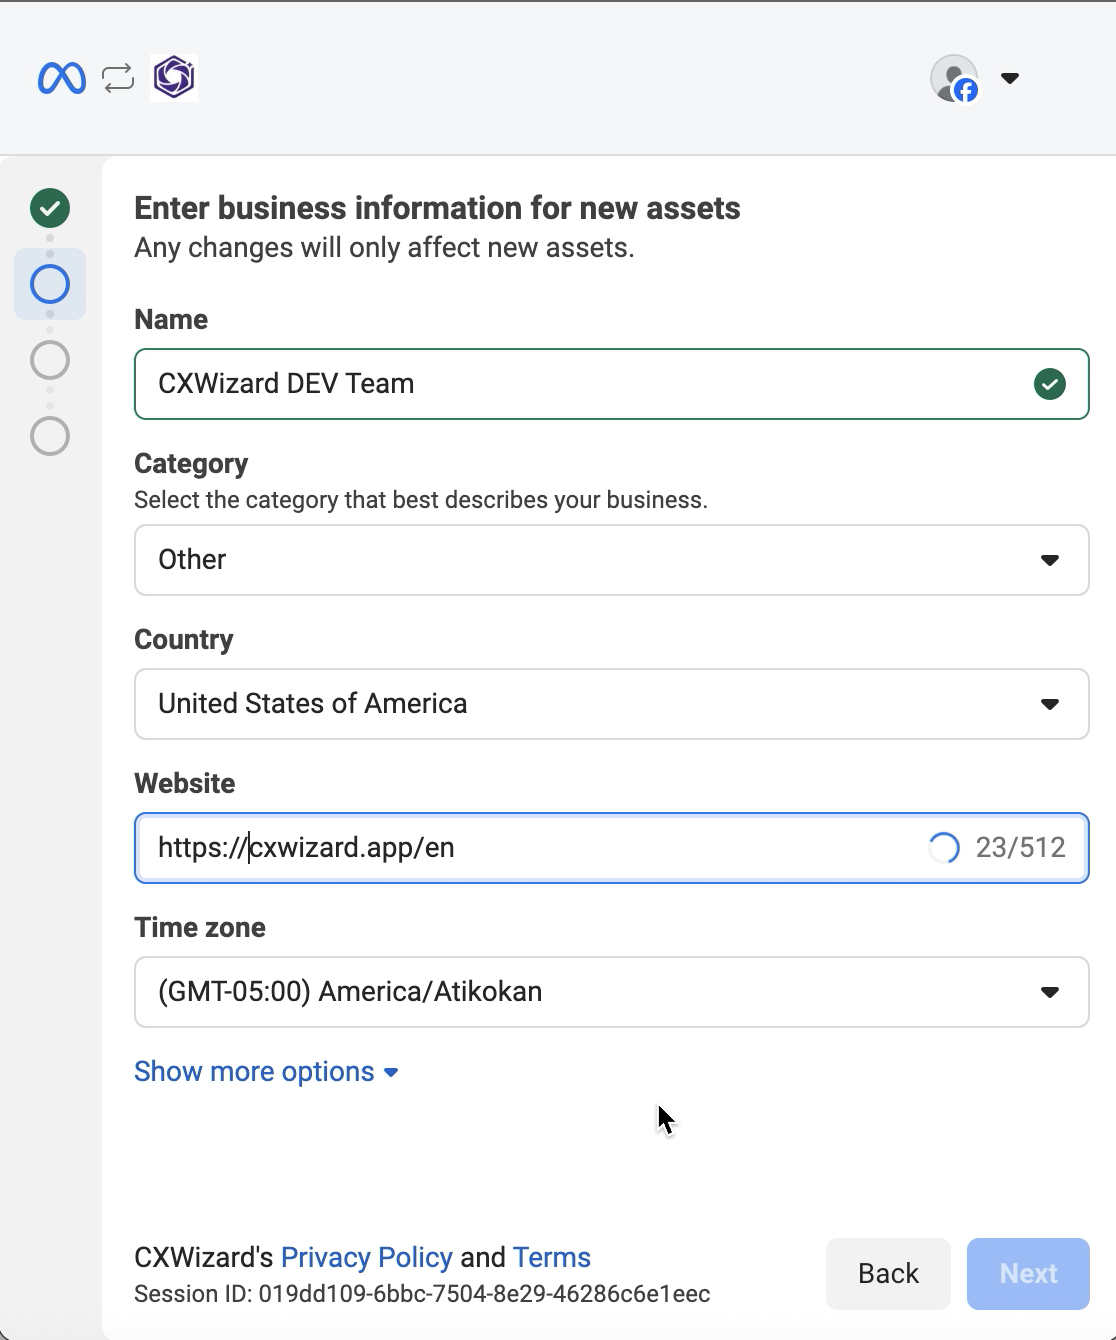
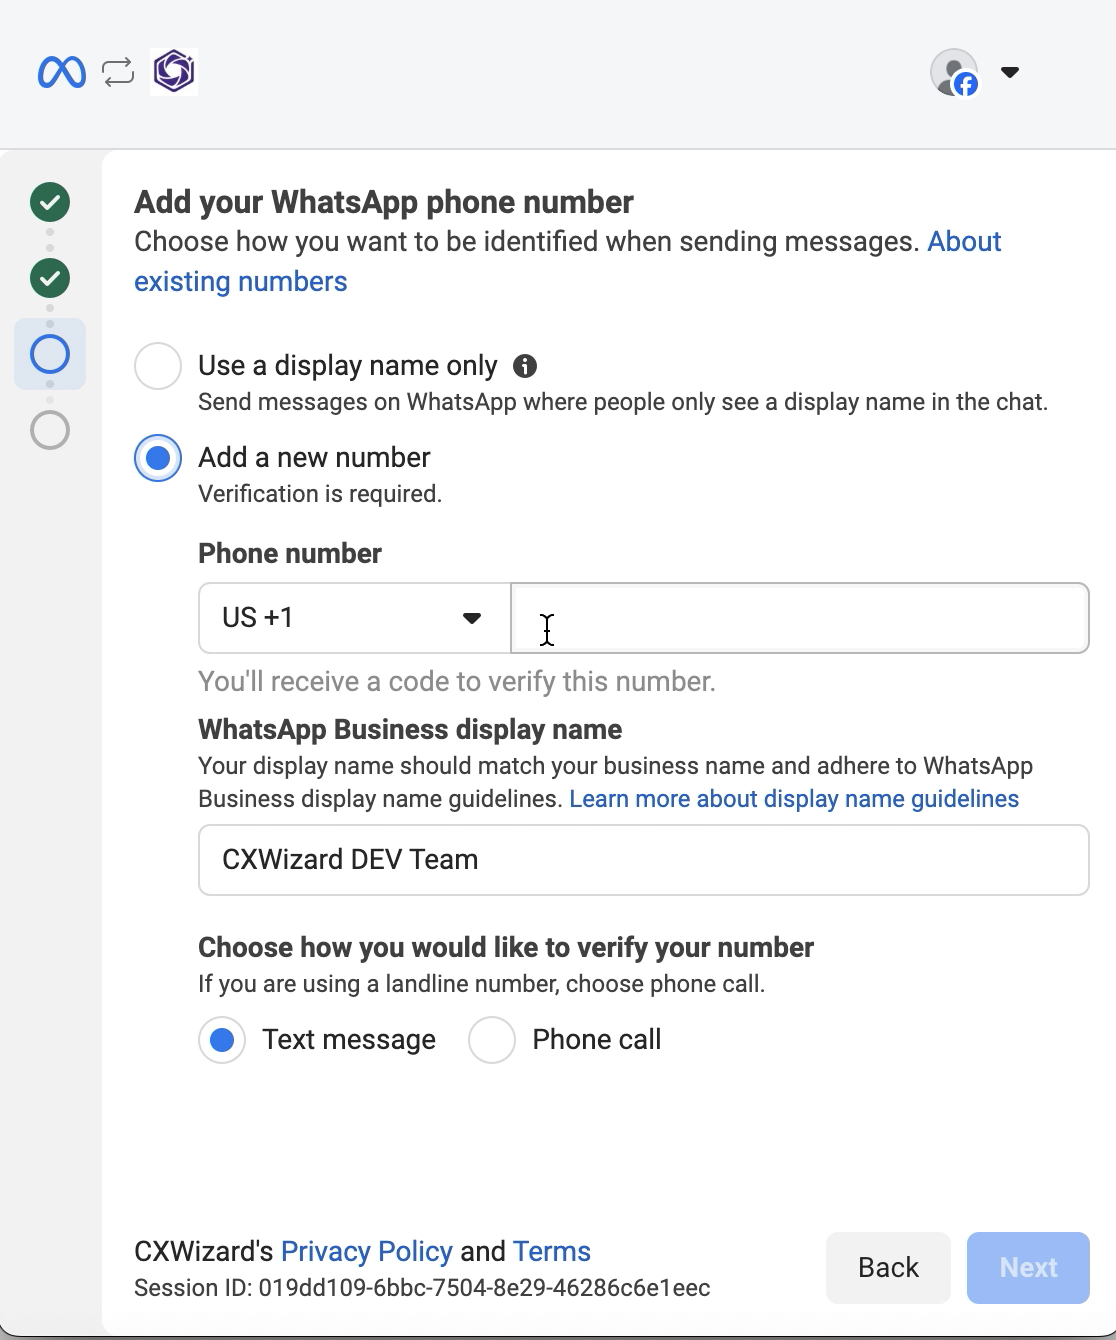
Choose Create a WhatsApp Business account if you are registering a new number through the API, then:
- Enter your business information
- Select Add a new number
- Enter the verification code sent to your device
Note: If you have already created a WhatsApp Business account and connected a phone number, you will see that asset in the dropdown. Simply select it, you will not need to go through account creation and phone number verification again.
Step 3: Finish verification and Complete
After your number is verified, complete the remaining steps in the flow. Your WhatsApp Business account will be connected to CXWizard.
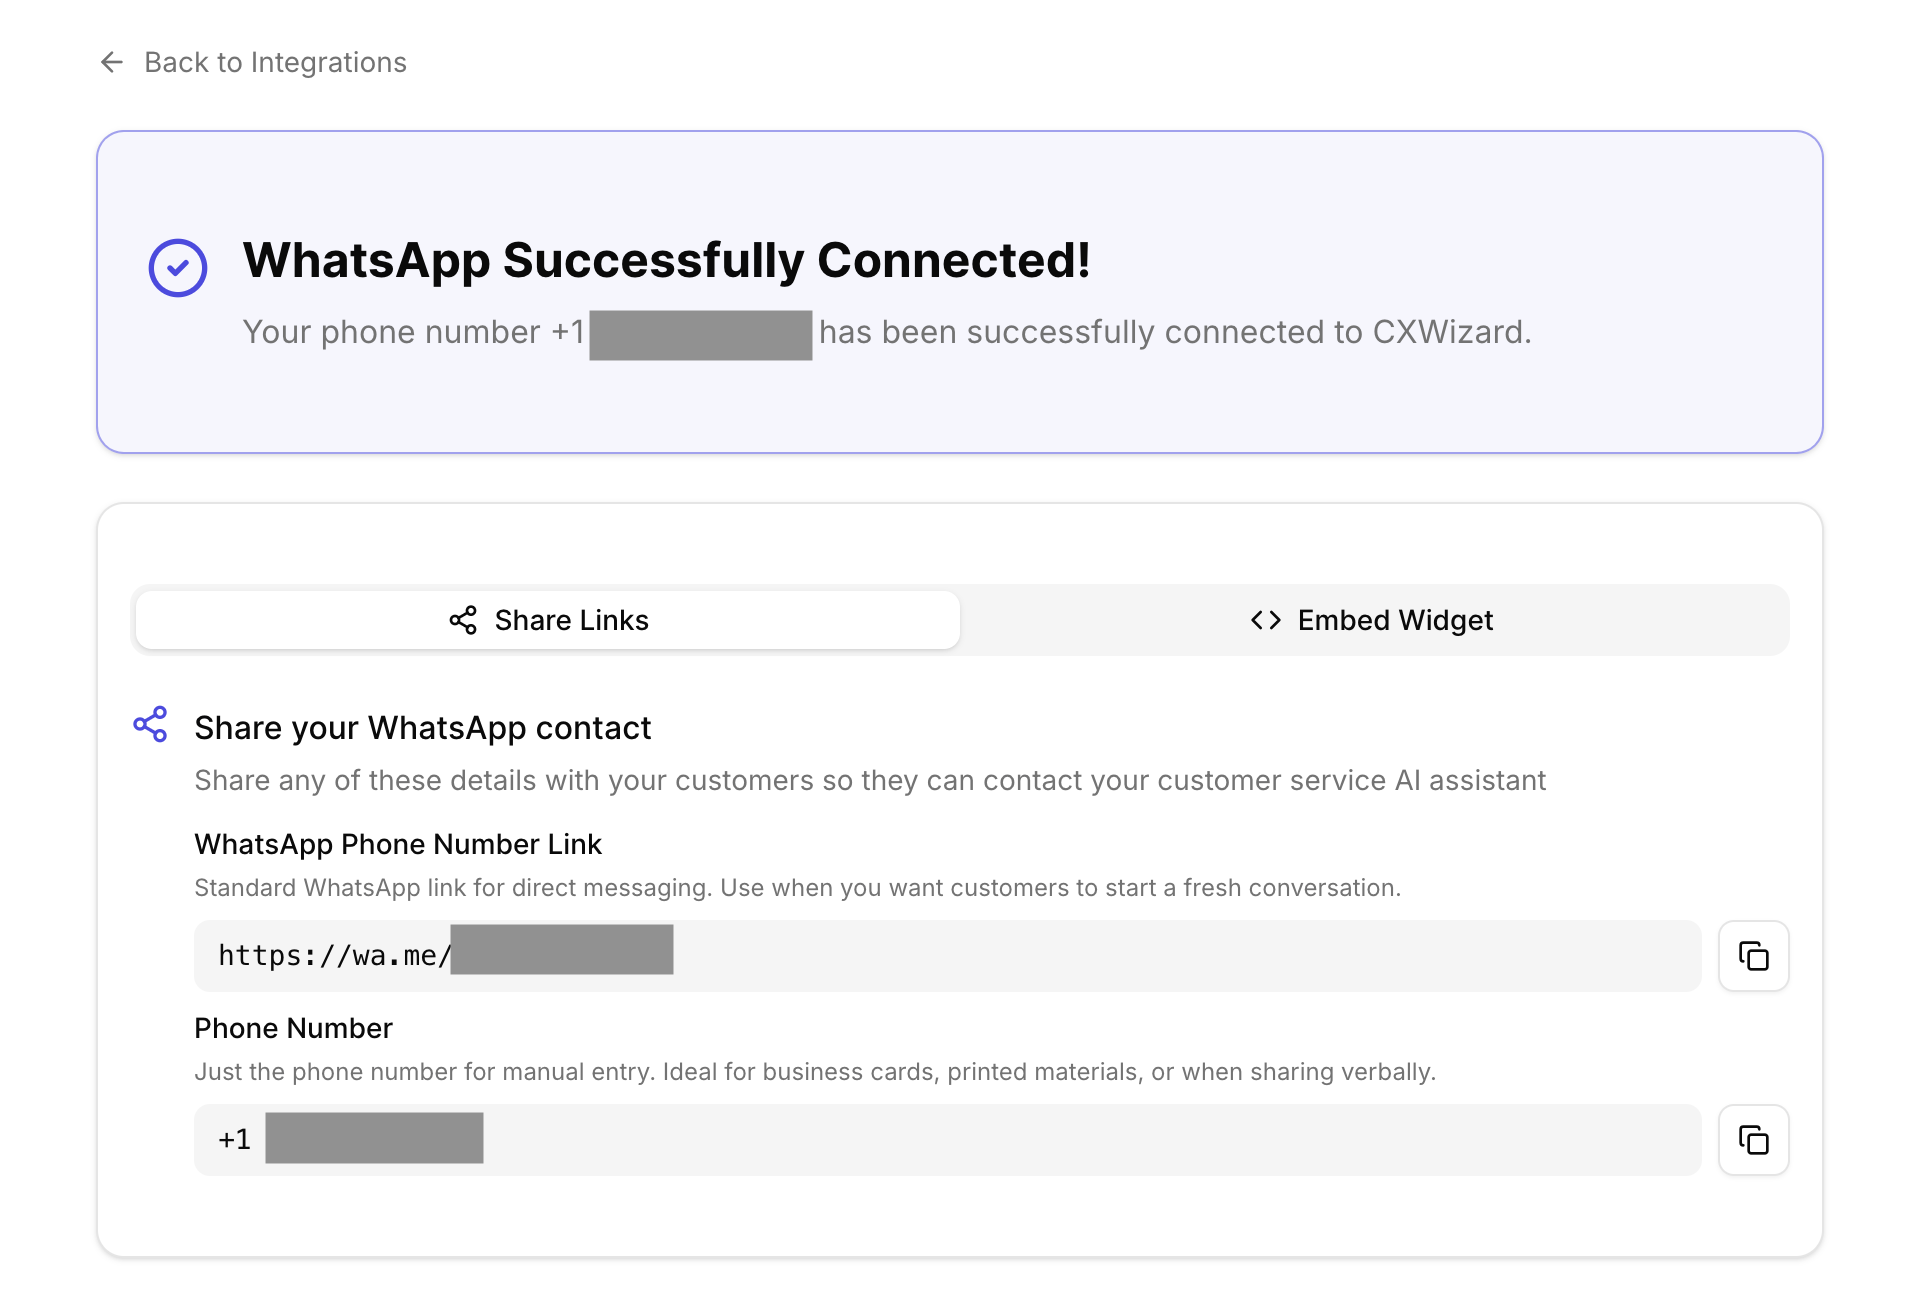
Next steps
Once WhatsApp is connected, finish these follow-ups so messaging works reliably as you scale:
- Create your AI agent. Visit the Agents tab in your CXWizard dashboard to create and enable your AI agent. Your agent can then respond to customer messages on WhatsApp using your knowledge base and connected integrations.
- Add a payment method. Add a card to your WhatsApp Business account in Meta Business Manager. Meta charges for message delivery separately from your CXWizard subscription. Follow How to Add a Payment Method to Your WhatsApp Business Account.
- Verify your business on Meta (optional). Complete Meta business verification to access higher messaging limits and tiers as your volume grows.
Related tutorials
- How to Add a Payment Method to Your WhatsApp Business Account: Add a card in Meta Business Manager so Meta can bill for WhatsApp messages.
- Understanding WhatsApp API's Per-Message Pricing: Learn how marketing, utility, and service messages are priced.
- How to Migrate Your WhatsApp Business Account to CXWizard: Move an existing WhatsApp Business API number from another provider to CXWizard.
- Getting Started with CXWizard: Set up your AI agent, connect channels, and start managing customer conversations.
- How to Add Team Members to CXWizard: Invite teammates so your team can collaborate on WhatsApp and other channels.
- Meta's Official Guide on How to verify your Business: Learn how to verify your business on Meta.